AES Pro app - Adding a user
AES Pro - Adding a Resident
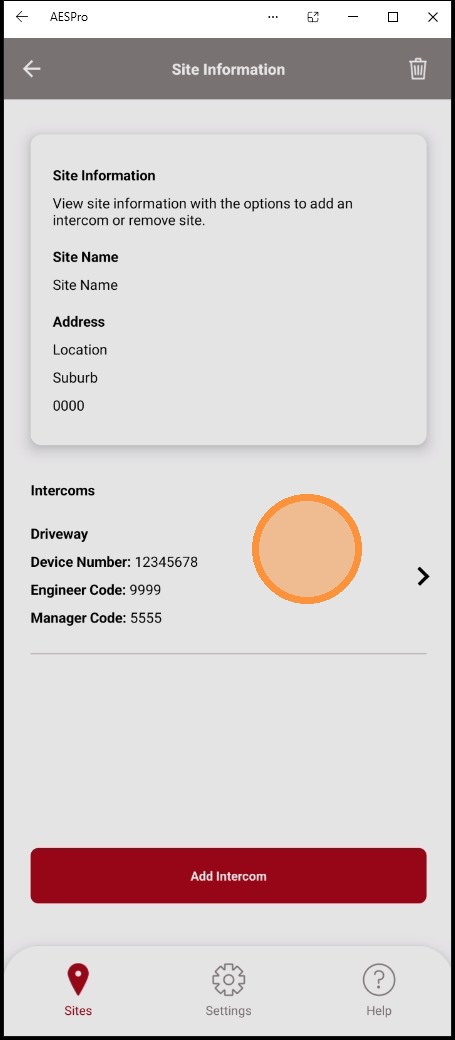
1. Select the Intercom you wish to program.
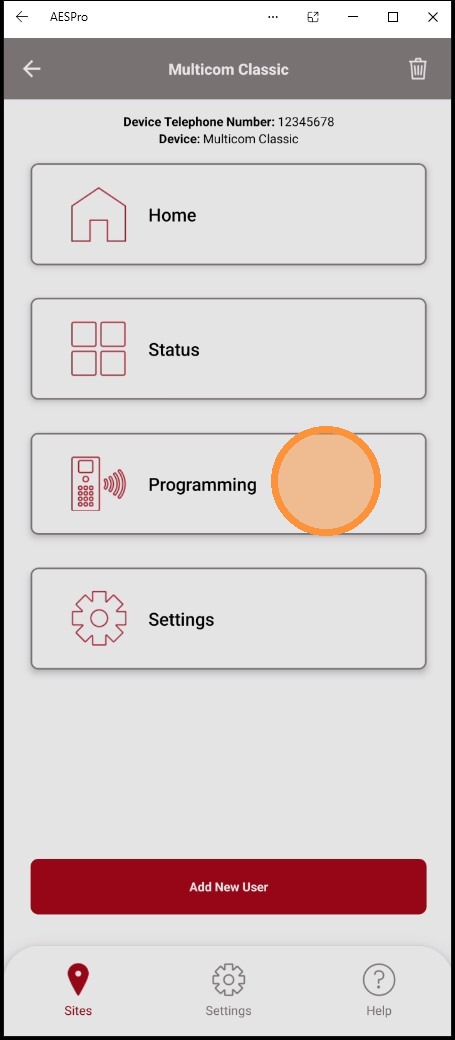
2. Select "Programming"
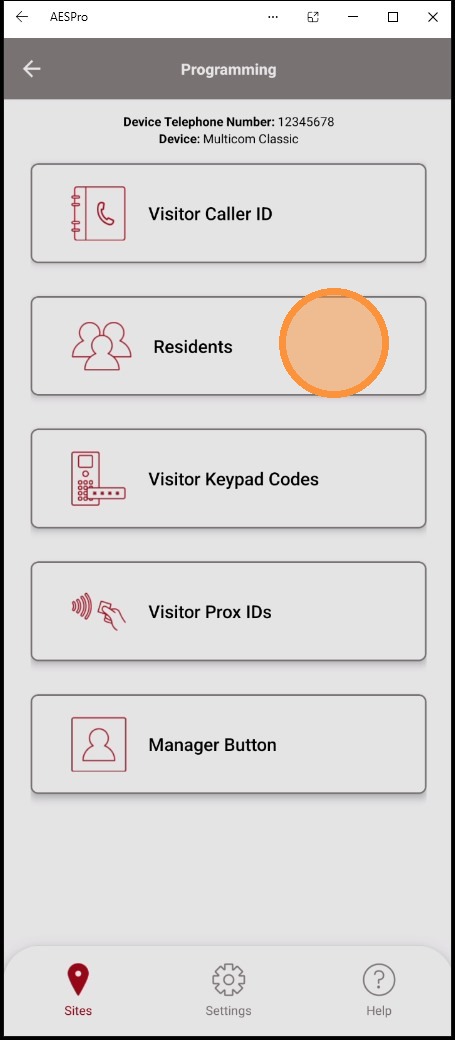
3. Select "Residents"
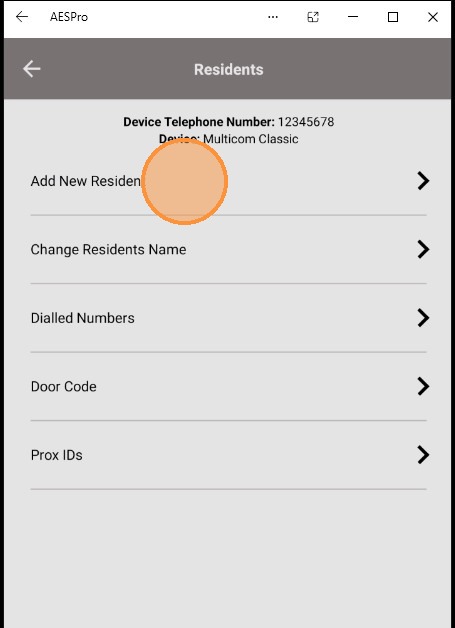
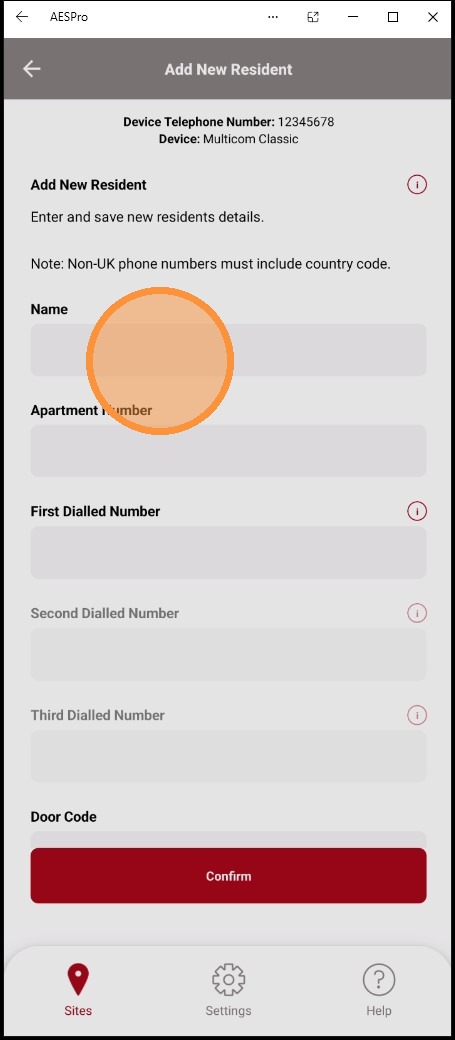
4. Select "Add New Resident"
5. Enter the residents details,
Name: This name will be displayed on the intercom, EG: Villa 8, House 10 or Smith
Apartment Number: Enter the number which will be dialled to contact the resident. EG Villa 10 = 10 or 010
Note: If you are including leading 0's all residents will need leading 0's added to their apartment details
First Dialled number: This number will be contacted first from the intercom, default call time is 20 seconds, after this time the second number will be contacted.
You can also add landline phones as a dialled number
Note: If the number dialled number has a MESSAGEBANK service applied and this activates before 20 seconds, the intercom will consider the call answered and will not attempt to dial any subsequent numbers.
Up to 3 numbers can be added to any 1 resident.
No door codes or other settings are used at this time, and should remain blank.
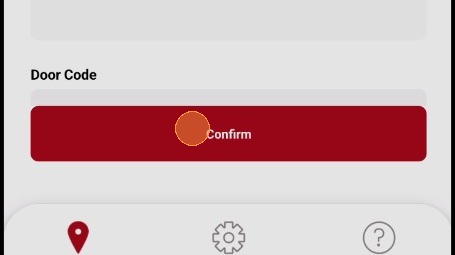
Once details have been added select "Confirm"
6. Select "Confirm"
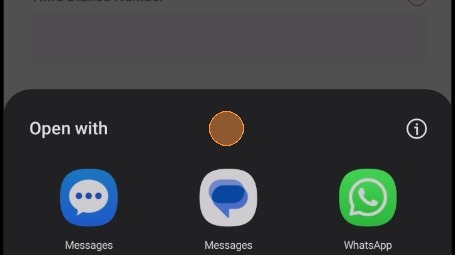
7. Select the preferred messaging service.
Once sent, you will receive a response from the intercom with your original message string and "OK", if you receive your message string and "Error". Your programming has failed confirm your details are correct and entered without spaces.
8. Once you have received confirmation message from the intercom, you can navigate back the AES Pro app and continue programming.
Note: If programming multiple intercoms, the original message string generated by the AES Pro app can be copied and send via SMS to other intercom numbers, this will allow to send details to other intercoms without re-entering residents details into the AES Pro app.